Friday, 7 November 2014

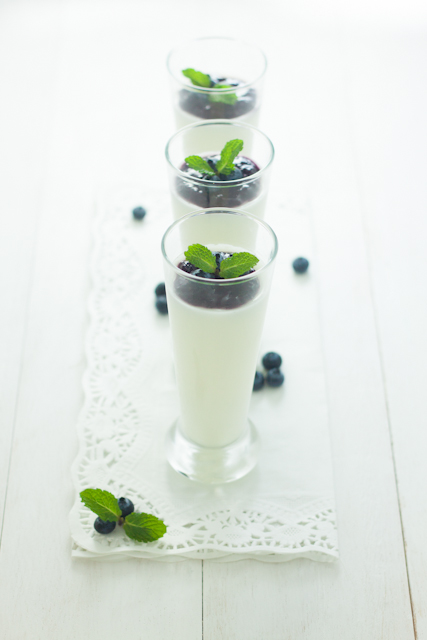
Silky Pudding with Blueberry Sauce

As its name, this one has silky-ish texture which is silky (you name it).This is the favorite pudding recipe in my family, we make it 3 to 5 times this week for lunch dessert or late night dessert or just in case we want it.
You can add a teaspoon of green tea, using milk or yogurt or coconut milk instead of water, adding any fruits you like or jams, endless possibilities. enjoy.

Recipe
source TobyRico's Mom

Silky Pudding Ingredients
1 can/380 grams sweetened condensed milk 
1900 ml water
1 pack/ 7 grams plain agar agar
150 ml blueberry sauce

Silky Pudding Instructions
  • Mix all ingredients in a pan, boil over medium heat, stirring constantly
  • when starts bubbling, turn off the heat, keep stirring until the steam gone
  • pour into prepared glass, let them set
  • add the blueberry sauce, garnish with fresh blueberries and mint leaves
Blueberry Sauce Ingredients
150 ml fresh blueberry juice 
1 tsp corn starch
2 tbsp granulated sugar
2 tbsp water

Blueberry Sauce Instructions
  • mix corn starch and water until dissolve, pour into a sauce pan
  • add blueberry juice and granulated sugar, stir well
  • heat over medium heat until bubbling and thickened, turn off the heat. let cool
Terima Kasih

Monday, 18 August 2014

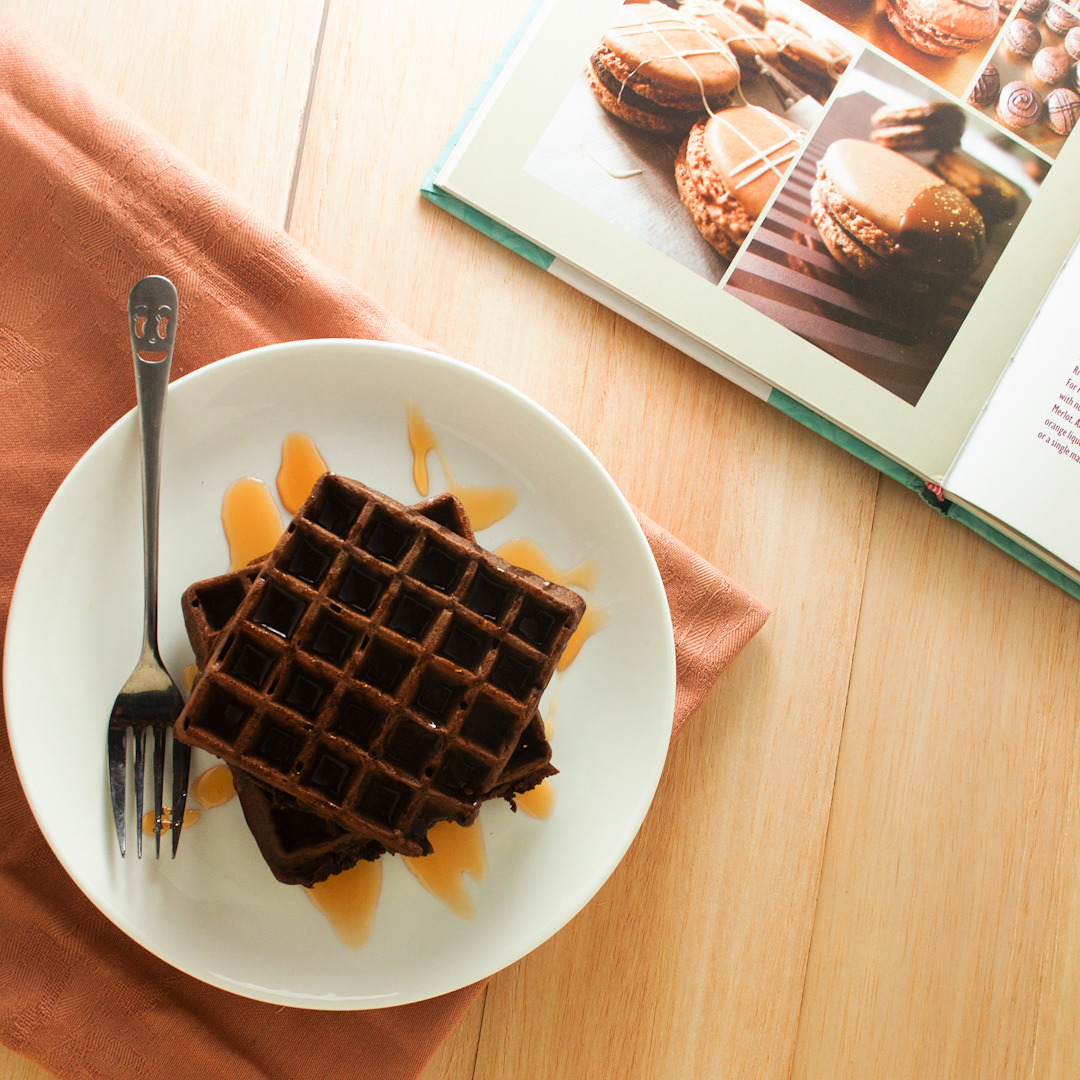
Mise en place and Chocolate Waffle


This post titled in French but doesn't mean I speak French, i even don't know how to spell mise en place haha. Mise en place means 'get organized', i got this phrase from Joanne Chang 'Flour' Cookbook where the phrase is included in Joanne's top 12 baking tips. Btw Flour cookbook is one of my fav, i'll make review about it later.

Let's talk about my workflow today, i started with googling the recipe that i want to try, make the sketch for the photo, preparing the photo set, preparing the ingredients, cooking, styling based on my sketch, edit the photo, and the last one make the blogpost. Mise en place should to be applied while preparing the ingredients, i did it. I organized all the ingredients and tools needed, but one. I forgot the waffle iron HAH! Waffle wouldn't be called waffle without the waffle iron. And i just realized it when the batter ready,and I waste my 30 minutes until i found it. Mise en place is a really usefull tips, you can save your time if you get organized anything before start cooking right? hhee


Let's talk about the waffle, get ready because this is a really really really light and fluffy waffle, because the white eggs is whisked separately until soft peak, psst that's the secret.

The recipe originally from bonappetit dark chocolate waffle, but i make a lot tweaking here and there and halves the recipe hhee
enjoy your waffle! :)

Chocolate Waffle

Ingredients
2 cups all purpose flour
½ cup unsweetened cocoa powder (-wafa dutch-processed cocoa powder)
¼ cup (packed) brown sugar (-wafa granulated sugar) 
2 tsp baking powder
1 tsp baking soda
1 tsp kosher salt
3 large eggs, separated
2 cups buttermilk (-wafa 1 cup buttermilk = 1 cup milk + 1 tbsp lemon juice)
½ cup olive oil (-wafa 1 cup cooking oil)
1 tsp vanilla extract (-wafa skip)
6 oz. bittersweet chocolate (at least 70% cacao), finely chopped (-wafa skip)
Nonstick vegetable oil spray (-wafa skip)
Unsalted butter and warm pure maple syrup for serving (-wafa honey and Wall's selection double dutch ice cream)

Direction

  • Whisk flour, cocoa powder, brown sugar, baking powder, baking soda, and salt a large bowl. Make a well in the center and add egg yolks, buttermilk, and oil. Whisk until just combined.
  • Using an electric mixer on medium-high speed, beat egg whites in a small bowl until soft peaks form. Working in 2 batches, fold egg whites into batter just until combined. 
  • Heat a waffle iron until hot. Pour about 1 cup batter at a time. cook until crisp on each side. Serve with honey and ice cream.

    Terima Kasih


    Saturday, 3 May 2014

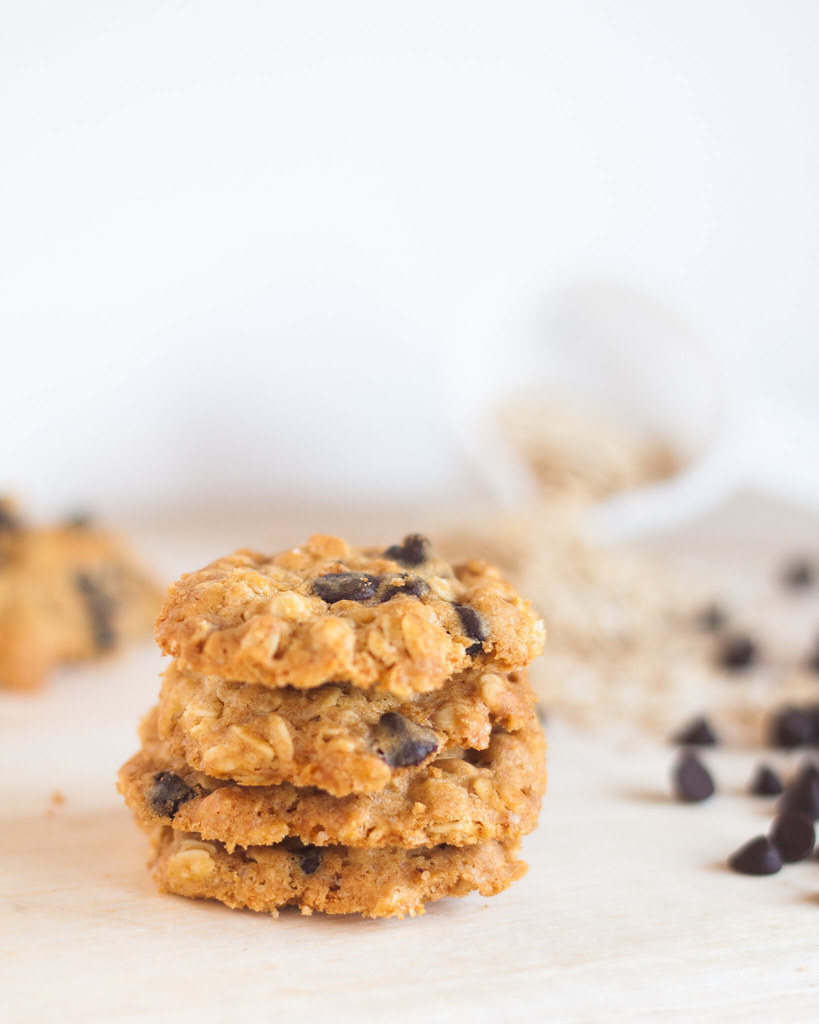
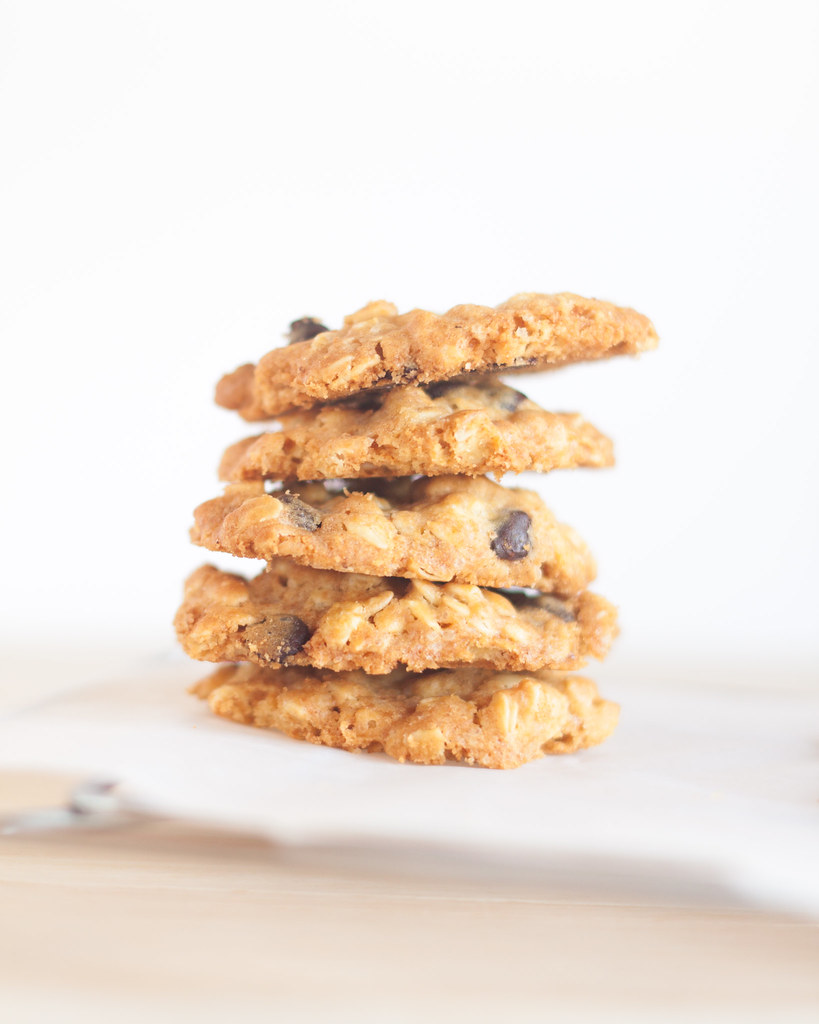
    Chocolate Chip Oatmeal Cookies

    Hello people! Let's strart the month with something healthy. my choice goes to oatmeals. Simply because oatmeal is good to maintain blood sugar, which is good for diabetes people. So my mom can eat cookies without worrying about sugar-too sweet and so on. 
    Chocolate Chip and Oatmeal
    I want my cookies to be crunchy crispy outside and the inside. I found interesting article titled cookie chemistry. Wow the science behind the cookie makes me feels like scientist. First, the article says about sugar that is known as hygroscopic, it takes up water, and the most less hygroscopic type of sugar is granulated sugar. in the other hand the brown sugar is more hygroscopic, so i omit the brown sugar and go to granulated sugar only.The second is butter, butter will melt at lower temperature. that means, the dough will spread wider. With those two secret, the cookies will end the crispy, crunchier texture. Loovvee it.
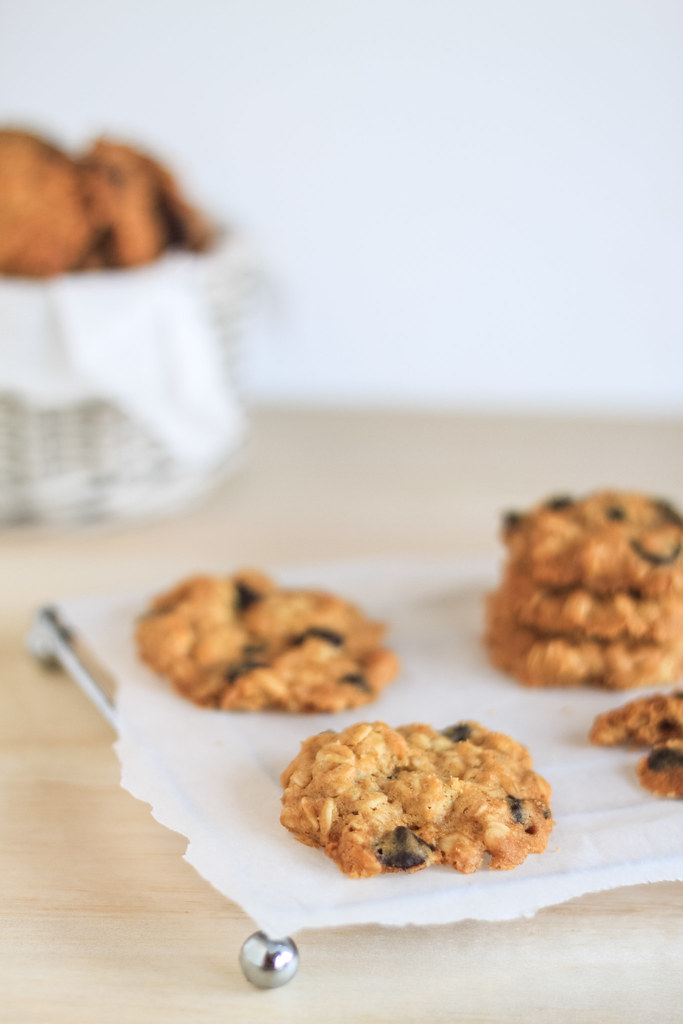
    Chocolate Chip Oatmeal Cookies
    Well what about the taste now. the cookies taste really good, not too sweet, with the more crunchy given by oatmeal and the hint of chocolate chips! but My mom suggested me to reduce the sugar lil bit more. I'll do it next time mom :)

    Chocolate Chip Oatmeal Cookies


    Recipe

    Adapted from Ordinary Kitchen

    Ingredients

    227 gram butter
    80 gram granulated sugar
    1 egg
    1 tsp vanilla extract
    100 gram all purpose flour
    1 tsp baking powder
    1 tsp baking soda
    200 gram old-fashioned oatmeal (instant or quick cooking will works too)
    100 gram chocolate chips

    Directions

    • Preheat oven to 160 Celcious degrees
    • Sift the flour, baking soda, and baking powder, set aside
    • In the medium bowl, cream the butter and sugar until well blended, then add egg, mix well
    • Add vanilla, mix until blended
    • add flour mixture and fold using spatula until just blended
    • add oatmeal and chocolate chips, fold until just blended
    • drop cookie dough using teaspoon on to baking sheet, give an inch apart in between 
    • bake for about 20 minutes, let cool on the baking sheet before remove them
    • store in airtight jar


     Now get a cup of milk, and enjoy your weekend people :)


    Terima Kasih

    Thursday, 10 April 2014

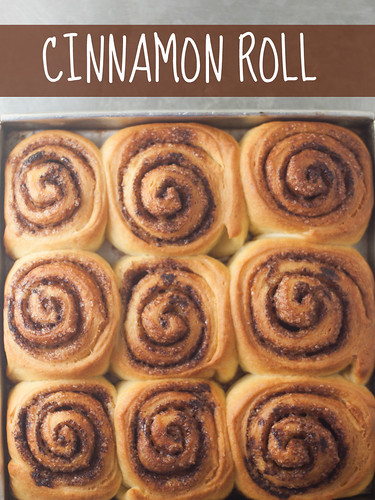
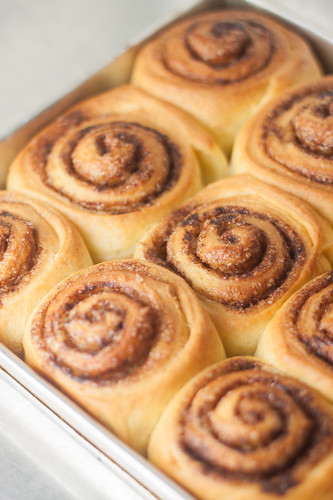
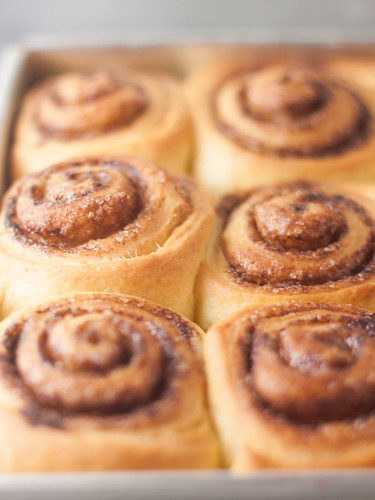
    Cinnamon roll

    i baked macaron in the morning but they didn't turn out really good, they all had feet but fragile shell and some of them we
    re burnt because i forgot to lower the heat. after all they all taste good (the not burnt yaa). the to refresh my mood i bake cinnamon roll for today breakfast.


    My baking journey mate is mom's hand mixer. She used to baking on the weekend 7 years ago. I don't have fancy stand mixer. So, What am I using to make bread? Kneading by hand? No no, I'm skinny girl. I don't have any energy to knead dough. But i have a helper named Regina Atlas  by Marcato. 

    Please welcome Regina Atlas (image courtesy : Amazon)

    She is a pasta extruder that have function as 'manual bread machine'. I just need to adjust the recipe to be bread machine friendly, at least just the dough mode in bread machine. I just put everything into the bowl, then rotate the handle bar until the dough elastic and doesn't stick to the wall.
    unassembled Regina Atlas

    the dough attachment (Right) and Dough lid (Left)

    So far, i use her to handle 1 kg dough, I don't know wether she can do more or not. And I never use the pasta extruder function. All the attachment are sealed as like new! OMG they are sealed around 7 years old. Maybe I will use them one day.

    Cinnamon Roll
    Dough recipe originally from Bakerella

    Rolls
    1 cup milk, warmed
    1 large egg
    5 tbsp unsalted butter, melted (margarine)
    1/3 cup granulated sugar
    1 pkg active dry yeast (2 ½ tsp instant yeast)
    1 tsp salt (skip)
    4 cups sifted all-purpose flour (1 cup high protein flour and 3 cups all purpose flour forget to sift them hhee )

    Filling
    ¾ cup granulated sugar
    1 ½ tbsp powdered cinnamon
    1/3 cup margarine melted

    Directions
    • Put all ingredients into Regina Atlas with dough attachment, turn the handle bar until elastic and dough doesn’t stick to the wall
    • Grease large bowl with oil, form the dough into ball, then put into the greased bowl, turn over.
    • Let it proof for about 45 minutes or until doubled in size
    • After doubled in size, punch the middle of dough.
    • Transfer into work table. Roll the dough as wide as you can.
    • Make the filling, mix sugar and powdered cinnamon, set aside. Pre heated the oven to 375F
    • Pour melted margarine into the rolled dough, then spread sugar and cinnamon mixture
    • Roll the dough tightly
    • Greased two 20x20cm pan
    • Divide dough about 3cm wide. The pan will fit 9 bun. The left bun can be put into cupcake pan.
    • Let the second proof for about 45 minutes
    • Bake for 20 minutes


    They are best serve warm. Tasty. Adding cream cheese glaze sounds tempting. I'll make that one next time. Hola bamba.

    Terima Kasih

    Sunday, 30 March 2014

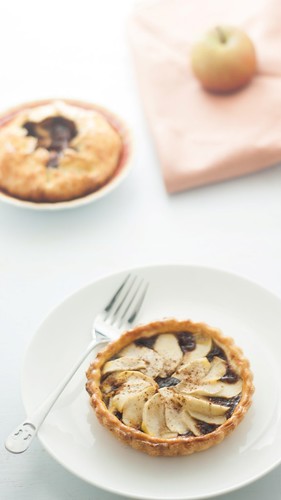
    Apple For My Tart

    Can you find any straw in strawberry? or the the egg in the eggplants? or apple in pineapple? I found them, but only on their name haha. (Okay this is a fail prolog after all)

    I will not discuss about how strawberry named strawberry and the rest of the word mention above. There is important stuff to talk about now. It's about apple. The fruit with sweet and slightly sour taste. The best match for my tart. The Apple for my tart. Oh did i already mention the apple for my tart? Okay I will mention it again. It is about the apple for my tart. Means apple tart.
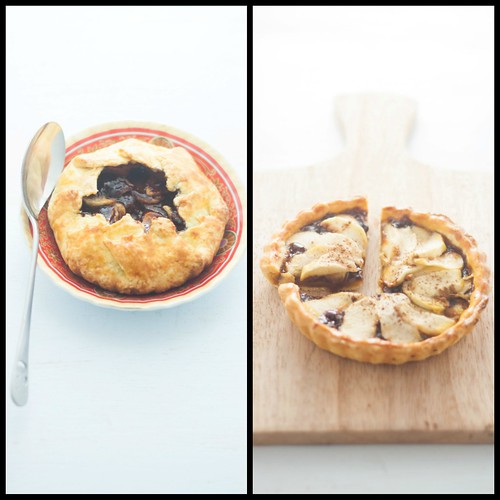
    The recipe actually called Butterscoth-apple Mini Galettes. But the last time i made them, i can't make the form of galettes or rustic-pie and ended with unfolded pie. The butterscoth flowed everywhere. It was messy but still delicious. So,this time i use tart mold to prevent any messy. And i success make the galettes but only one little galette. So we don't need to change the name into Butterscoth-apple Mini Tart.


    The recipe originally from Bountiful by Todd Porter and Diane Cu shared by Bakerella. Bountiful totally on my wish list.
    Butterscotch-Apple Mini Galettes

    Servings: 4 mini galettes (I Made 4 mini tarts and 1 mini galette)

    Butterscotch 
    (wafa- halves the butterscotch recipe)
    1/4 cup unsalted butter
    1/2 cup packed brown sugar (wafa- palm sugar)
    1/2 cup granulated sugar
    1/2 cup heavy cream
    1 teaspoon vanilla extract
    1-2 tablespoons Scotch or Whiskey (wafa- omit it)
    1/2 teaspoon salt

    Filling
    1 1/2 pounds apples, peeled, cored, and thinly sliced (wafa- 4 medium apple)
    1/4 cup granulated sugar
    1 tablespoon flour
    1 tablespoon lemon juice (wafa- lime juice)

    Crust
    2 cups flour
    1/2 cup cold unsalted butter, cut into small cubes (wafa- cold margarine)
    1/2 teaspoon kosher or sea salt
    1 tablespoon sugar
    2 egg yolks
    3 tablespoons ice water
    heavy cream for brushing on crusts (wafa- egg yolk)

    Instructions

    For the butterscotch:
    • In a medium saucepan, melt butter over medium-low heat. Before butter is completely melted, stir in both the sugars. Gently cook stirring occasionally for about five minutes, until the sugars transform from grainy to smooth.
    • Add the cream and whisk until completely combined. Increase the heat to medium and cook for 8 more minutes, whisking occasionally. Let cool for 10 minutes. Then stir in vanilla, salt and whiskey. Set aside.
    For the filling:
    • In a bowl, combine the sugar, flour and lemon juice. Add the sliced apples and toss together until mixed evenly. Set aside. Preheat oven to 425 degrees and line two baking sheets with parchment paper.

    For the crust:

    • In a medium bowl, use your fingertips to pinch together the flour, butter, salt and sugar until the mixture is crumbly. Make sure any large pieces of butter are flattened or broken apart.
    • In a small bowl, whisk egg yolks with ice water until combined. Add yolks to the flour mixture and incorporate until the flour binds together and forms a rough ball, kneading if necessary.
    • Divide dough into four equal pieces, flatten into disks and place in the freezer for 5-10 minutes to firm up.
    • Roll out dough into an 8-inch circle on a lightly floured work surface. Use a cake pan as a guide to cut a more perfect circle. Then transfer disk to one of the prepared pans. Pile apples in center of disk about 5 inches and wide and three layers deep in apples. Pour a couple of spoonfuls of butterscotch sauce over apples and spread evenly. Then fold dough up and over apples, creasing every inch or so. Repeat with three remaining dough disks. Brush crusts with a little heavy cream.
    • Bake for 20 minutes. Rotate sheet pans and reduce oven temperature to 350 degrees and continue baking for 15-20 more minutes or until crusts are golden brown. 

    Note : I cook the butterscotch sauce for too long so it get darker color and i get around half cup of sauce. And i divide the dough into 5 equal size using digital scale.

    Monday, 17 March 2014

    Rich and moist chocolate banana bread

    I made it in the early February but doesn't have time to blog it yet until today. Such a lazzy blogger. I bake many sweet desserts the take photos (a bunch of photos) but the photos just end up sitting nice and quiet in my hardisk. But now please let one of them share their little shy story. Please have a sit and enjoy your reading fellas.

    At the first i was going to make this one for family gathering at my home, so i stocked up the ingredients. then the problem come. i bought the unripe banana which was taste not good. That was my fault because i have no idea which one was ripe and not. I just picked the nicest looking banana and voila! i should postpone baking this one. On the next day banana already ripe. I had no cause to postpone it anymore. Yay!

    I started with one batch at first. But after i smell the goodness coming from the oven, i couldn't resist myself to make another batch. the first batch fit nicely with my 20x10cm loaf pan and for the second batch i used paper cup.

    The cake prove its title literally. It has rich chocolaty taste, moist texture, tasty! Oh and i need to add glorious sweet-smelling of banana to its title. Yum Yum!

    I got the recipe from Mba Hesti. I'm her silent reader since a long long time ago. hhee. The original recipe from Sweet Savory Life.

    Ingredients
    100gr salted butter (i use 100gr unsalted butter and 1/4tsp salt)
    120gr sugar
    1 egg
    5 ripe medium banana, mashed (i use 21/2 large ripe banana)
    1/2 vanilla extract
    150gr cake flour
    1 tsp baking soda
    2 tbsp cocoa powder
    1/4 cup sour cream (i use yoghurt)
    1 cup chocolate chip (i use dark chocolate chip)

    Method
    1. Preheat oven to 350 Fahrenheit degrees
    2. Grease the pan with butter and flour it lightly
    3. In medium bowl beat(i use hand mixer in medium speed) butter and sugar until well-blended. Add egg, mashed banana, yoghurt and vanilla. Beat again until well-blended (i use hand mixer in medium speed). 
    4. Add flour, cocoa powder, and baking soda
    5. Beat until well-blended, don't overmix.(i use hand mixer in medium speed for 1 minute)
    6. Add the chocolate chip, fold it.
    7. Pour the batter to the pan then bake for 50-60minutes. Don't overbake.


    Wednesday, 26 February 2014

    Green Smoothie

    it's a quick post. I had a dygestive problem yesterday, my mom suggested me to eat avocado. Because i am not a big fan of avocado, i was looking for other options and smoothie would be great answer, Oh and addition it should be GREEN SMOOTHIE yaaayy. I'd love to have ice cream in my smoothie but rain and rain and rain come all day and night. so i just replace it with yoghurt. and here it comes!!!


    First all i have is avocado. Then kiwi. Oh and spinach. Green green green and green. Yay!


    The milk and yoghurt!! Uups it is banana yoghurt!

    The All Star!!


    Green Smoothie


    Ingredient
    1 cup spinach leaf
    1/2 Avocado
    1 Kiwi
    1/2 cup milk
    1 package yoghurt

    Directions
    • Slice avocado and kiwi
    • Put all the ingredients into the blender, then blend then until smooth
    • Enjoy your green smoothie


    Friday, 17 January 2014

    Pancake : The Fluffy One

    Libur kuliah juga nih akhirnya, masa masa UAS sudah berakhir, tapi masih banyak tantangan yang belum selesai, PKL masih jalan, and masih ada semester 8! Jadi yaa liburan itu buat dipake nyiapin diri for my last (around) 6 months in university. Terus jadi punya hobi nyari-nyari masalah haha. nyari nyari masalah buat dijadikan bahan skripsi maksudnyaa x)

    Because it's holiday, saatnya nambah postingan di blog, so sorry lama banget nggak diisi, kisses and hugs for my blog.

    Postingan kali ini is something simple. Pancake! yaay. Akhirnya berhasil juga buat pancake yang fluffy and super soft. Padahal udah nyoba banyak resep yang pakai baking powder sebagai pengembangnya tapi gagal teruus. And the lesson is jangan overmixing adonannya. Gatel deh ngeliat adonan yang diam manis di mixing bowl. Bawaanya pengen ambil whisknya terus diaduk deh hahaha

    Hasil dari pancakenya itu teksturnya lembut banget, empuk pulaa, terus nggak manisnya pas agak samar gitu, jadi pas buat topping apa aja, mau yang asin atau manis pun cocok pol.

    Here you go, resep pancake fluffy dari webnya martha stewart. Untuk cara memasaknya aku pake cara sendiri hhee. Enjoy.


    Basic Pancake

    Bahan
    1 cup   tepung terigu protein sedang
    2 tbs    gula
    2 tsp    baking powder
    1/2 tsp garam
    1 cup   susu cair
    2 tbs    mentega tawar, cairkan, atau minyak sayur
    1 buah telur besar
    1 tbs    minyak sayur (aku skip soalnya pakai teflon)

    Cara Memasak
    • Campur semua bahan kering kemudian ayak di mixing bowl, sisihkan.
    • Campur semua bahan basah kecuali minyak sayur. aduk rata.
    • Tuang bahan basah ke bahan cari, aduk dengan whisker hingga tercampur rata, adonan akan agak lumpy, tapi gpp kok. Jangan sampai overmixing yaa :3
    • Panaskan wajan dengan api sedang, tuang minyak dikit. 
    • Tuang adonan pakai ukuran 1/3 cup. Tunggu sampai pancaknya mulai ada bubble-bubble gitu, kemudian dibalik deh. Tunggu hinnga bagian bawahnya kecoklatan, angkat.
    • Sajikan pakai whipped cream, buah, selai, atau apa aja sesuai selera :)
    • Enjoy your fluffy pancake

    Next project i want to bake eclair or make peanut butter yay yaayy